
 English
 Français
  Español
  Deutsch
September promotion: 20% off zipper repairs.
09/14/2026



Is the zipper on your baby's sleep sack broken?
Before buying a new sleep sack for your little one, let us show you how to fix it!
No sewing required—and it's quick!
With this video tutorial, you can repair your sleep sack's zipper yourself in just a few minutes.
The zippers on baby sleeping bags are quite delicate and can easily malfunction over time:
- The slider is worn and no longer works properly.
- The teeth no longer close correctly.
- The slider has broken or slipped off the zipper track.
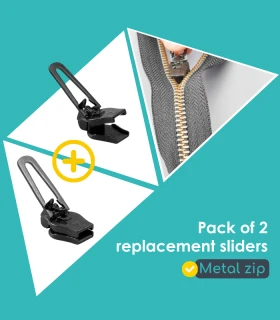
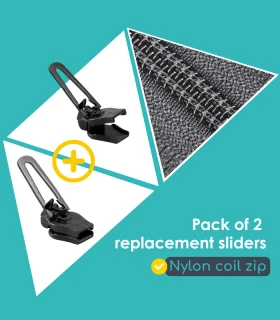
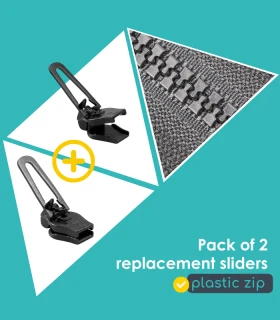
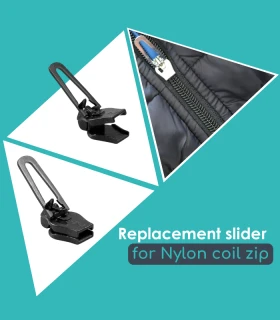
Fortunately, you can repair your sleeping bag without sewing, using a Clip&Zip replacement slider.
A Clip&Zip slider suited to the size and type of your zipper.
Flat-nose pliers.
Examine the zipper to determine the type of closure: is it plastic, metal, or nylon? For baby sleeping bags, they are usually made of nylon or plastic.
Then, check for a number on your old slider to identify its size (No. 5, No. 8, No. 10, etc.).
These two steps will allow you to choose a compatible Clip&Zip slider.
For further details, please visit our help page.
If it is stuck or deformed, use flat-nose pliers to cut the old slider and gently remove it.
Open the new slider using your hand or the small red wedge provided with your order.
Position it over both sides of the zipper.
Close it carefully until you hear a "click."
Slide the zipper up and down to ensure the teeth mesh perfectly.
Your baby sleeping bag is ready to use again—though we can’t guarantee a full night’s sleep 100% of the time...
Repairing a baby sleeping bag zipper is child's play. By following this video tutorial, you can extend the lifespan of your garments and save money, all while doing your bit for the planet.

Please sign in first.
Sign in